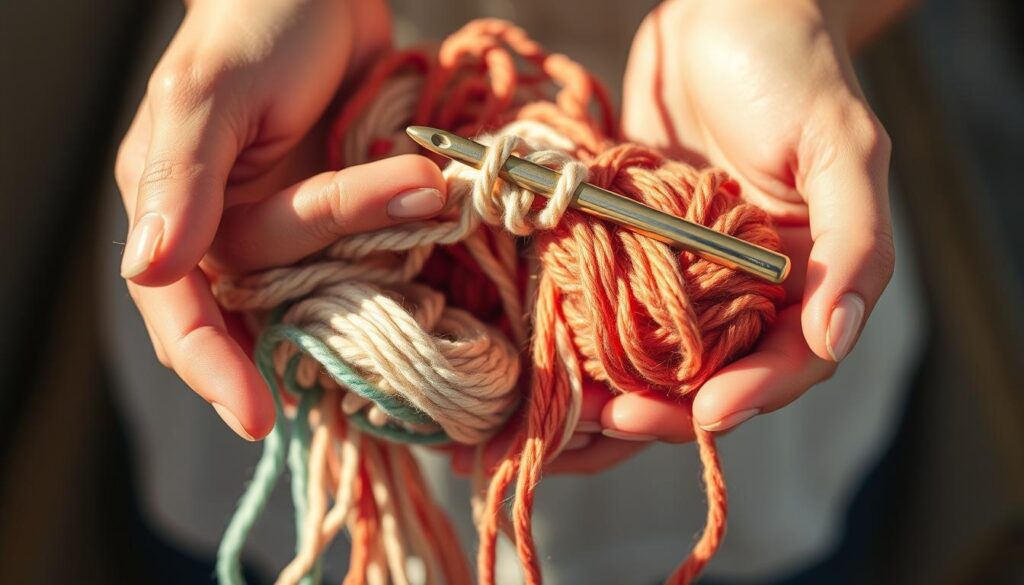
Looking for an easy project? A simple scarf is perfect for beginners. It uses basic stitches and techniques. You’ll need the right yarn and hook size to make it.
Your scarf will be about 6.5 inches wide and 65 inches long. It’s great for any season. You’ll only need less than 196 yards of yarn and a 9 mm (M/N-13) crochet hook to start.
Imagine wearing a soft, cozy scarf made from Lion Brand Wool-Ease Thick and Quick. It’s 80% acrylic and 20% wool. This yarn is great for beginners. It has a gauge of 7 single crochet stitches (sc) x 4 rows = 4 inches x 6 inches.
Key Takeaways
- You’ll need basic stitches and techniques to create a simple scarf.
- The right yarn and hook size are crucial for a comfortable and cozy scarf.
- A simple scarf is a great first project for beginners.
- You can use Lion Brand Wool-Ease Thick and Quick yarn for a soft and cozy scarf.
- A gauge of 7 single crochet stitches (sc) x 4 rows = 4 inches x 6 inches is recommended for a simple scarf.
- You’ll need less than 196 yards of yarn to complete a simple scarf.
Choosing Your Yarn and Hook
Choosing the right yarn and hook is key for a cozy scarf. The yarn’s weight, the hook’s size, and how easy it is to hold are important. A good yarn makes your scarf warm and comfy.
A #6 Super Bulky yarn, like Wool Ease Thick & Quick, is great for a thick scarf. It’s best with a 10 mm hook for the start and a 9 mm for the rest. A hook that feels good in your hand is also important for long crochet sessions.
Here are some key factors to consider when choosing your yarn and hook:
- Yarn weight: #6 Super Bulky
- Recommended hook size: 10 mm for foundation chain, 9 mm for the rest of the scarf
- Comfortable grip: essential for extended crochet sessions
- Foundation chain: 115 chains for a 6-inch wide scarf
- Desired scarf width: 6 inches
By picking the right yarn and hook, you’ll make a beautiful, cozy scarf. Choose a yarn that fits your style. Don’t be shy to try different yarns and hooks to find the best for your project.

With the right yarn and hook, you’re ready to make a stunning scarf. Next, we’ll look at the foundation chain and how to figure out your scarf’s length.
| Yarn Weight | Recommended Hook Size | Foundation Chain | Desired Scarf Width |
|---|---|---|---|
| #6 Super Bulky | 10 mm for foundation chain, 9 mm for the rest of the scarf | 115 chains | 6 inches |
The Foundation Chain
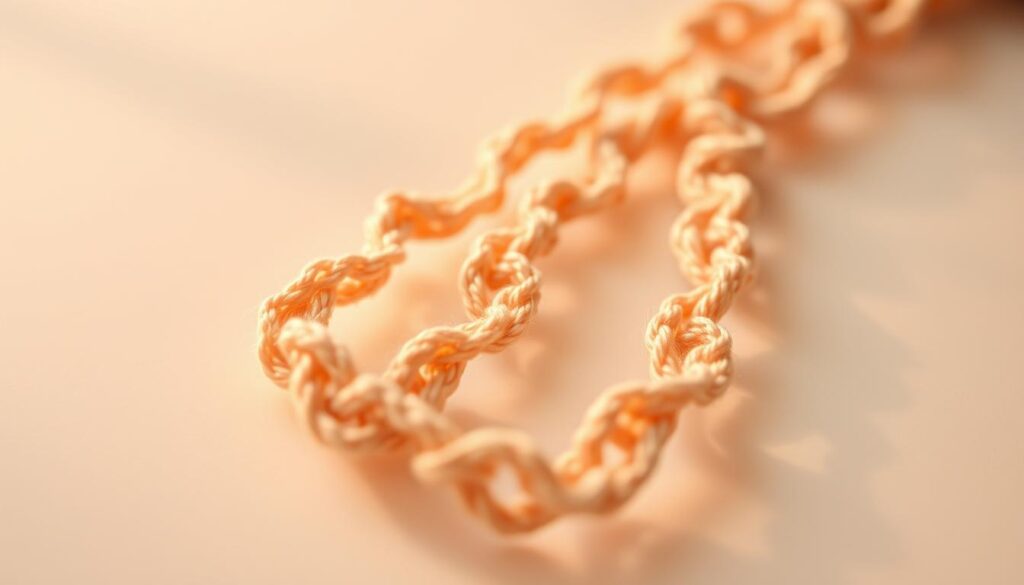
To start your scarf, you need to create a foundation chain. The length of this chain is key for your scarf’s width. Count your stitches and repeat until you hit your desired width.
A simple formula helps figure out the chain length. Multiply your desired width by the stitch count. For instance, if you want a 7-inch scarf with 13 stitches per 4 inches, use this formula.
The pattern suggests a 21-chain foundation. But you can adjust this for your preferred width. Remember, the spacing between tassels affects the chain length. You’ll need an odd number of chains for every other stitch and a number divisible by three for every third stitch.

- Determine your desired scarf width
- Count the stitches per inch of your yarn and hook
- Use the formula to calculate the chain length
- Repeat the process until you reach the desired width
By following these steps, you can make a foundation chain for your scarf. Use a formula to figure out the chain length, considering your stitch count and desired width.
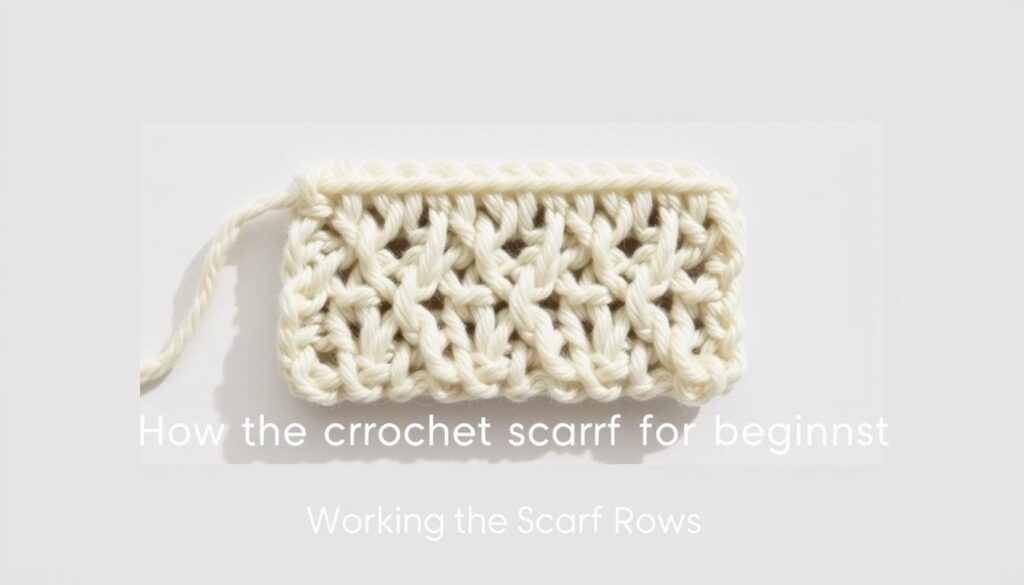
Working the Scarf Rows
To start the scarf rows, you’ll use the single crochet stitch. This stitch is key for a beautiful scarf. It’s important to know it well.
The single crochet stitch is often called sc. It’s worked in the back loop only (blo) or front loop only (flo) for different looks.
Begin by putting your hook in the second chain from your hook. Then, yarn over and pull up a loop. Next, yarn over and pull through both loops on the hook. This makes one single crochet stitch.
Keep doing this in each chain across the row. Make sure your tension is even for a nice scarf texture.
Single Crochet Stitch
The single crochet stitch is great for many textures and patterns. For the back loop only (blo), insert your hook into the back loop of the stitch. Then, yarn over and pull up a loop.
To do the front loop only (flo), insert your hook into the front loop of the stitch. Then, yarn over and pull up a loop.
Garter Stitch Crochet
The garter stitch crochet makes a ribbed texture. Work the single crochet stitch in the back loop only (blo) for one row. Then, work it in the front loop only (flo) for the next row.
This creates a textured, ribbed pattern that’s great for scarves. Remember to work a turning chain at the end of each row. This keeps the scarf’s shape and texture right.

| Pattern | Stitches | Rows |
|---|---|---|
| Single Crochet Stitch | 223 stitches | 10 rows |
| Garter Stitch Crochet | 223 stitches | 10 rows |
By following these steps and using the single crochet stitch and garter stitch crochet, you can make a beautiful scarf. It will have a textured, ribbed pattern.
Finishing Touches
As you near the end of your crochet project, it’s time to think about the finishing touches. These touches will make your scarf look polished and professional. One key step is weaving in ends, which secures the yarn tails.
To start weaving in ends, thread the yarn tail through a yarn needle. Then, weave it in and out of the stitches, securing it tightly. You can also use sewing in ends as an alternative, sewing the yarn tail into place with a sewing needle and thread.
Blocking Your Scarf
Another important step is blocking. This involves wetting, stretching, and shaping your scarf. It even out the stitches and gives it a professional finish. You can use steaming or wet blocking depending on the yarn and the look you want.
Consider adding fringe to the ends of your scarf. It adds a decorative touch and hides yarn tails. You can also use yarn tails to create a decorative border or trim.

By following these steps and adding finishing touches, you can create a beautiful scarf. Whether using worsted weight yarn or another type, the key is to take your time. Pay attention to the details, from weaving in ends to blocking and adding decorative touches.
Adding Personal Touches
Now that your scarf is done, it’s time to add personal touches. You can add embellishments like tassels, buttons, or pom-poms for a unique look. Personalization makes your scarf show your personality and style.
You can also add fringe to your scarf. This adds texture and interest. To do this, cut fringe and then attach it to your scarf’s ends. Another idea is to add embroidery for a personal message or design.
Other ways to personalize your scarf include:
- Adding a hair bow or other decorative element
- Using different colors or patterns for a unique look
- Adding appliqué flowers or other decorative elements
Remember, the key is to have fun and be creative. Don’t be afraid to try new things. It’s all part of making your scarf truly unique.
| Project | Description |
|---|---|
| Scarf | A simple and stylish accessory that can be customized with various embellishments |
| Crochet Baby Blanket | A quick and easy project that can be personalized with appliqué flowers |
| Crochet Bucket Hat | A trendy and customizable project that can be made with various colors and patterns |
Wearing and Caring for Your Scarf
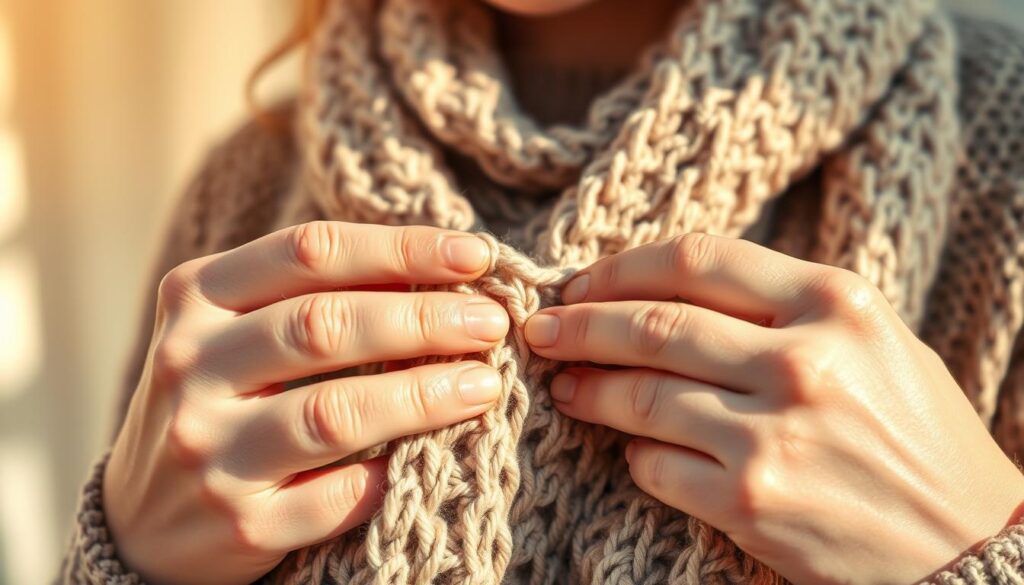
Now that you’ve learned to crochet a simple scarf, it’s time to enjoy its warmth and style. When you wear it, remember to take care of it. Hand washing with a gentle detergent and cool water is best to keep it soft.
If you prefer machine washing, use a delicate cycle. Always air dry or lay flat to avoid shrinkage.
To store your scarf, fold it neatly and keep it in a cool, dry place. Stay away from direct sunlight to prevent fading. With proper care, your scarf will stay soft and vibrant for many years. Enjoy wearing and showing off your homemade scarf in different ways.

